Four years. That is roughly how long a mainland paint schedule survives on a windward-facing island wall before the first chalky haze shows up. I have watched homeowners near the water repaint twice in the time a friend in Arizona repainted once, and the difference was not the painter’s skill. It was the ocean.
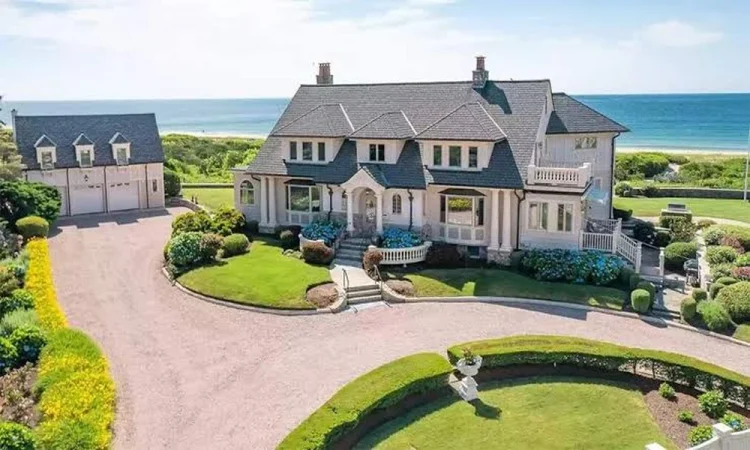
If you own a home within a few miles of saltwater, your exterior follows different rules than the paint aisle at a big box store will tell you. Here is what actually drives premature failure on island homes, how to spot it before it spreads, and how to choose coatings, prep work, and people who understand the difference between “beach house” and “house that sits in salt spray eight months a year.”
Why does paint fail faster near the ocean?
Three forces work on your walls at once, and they do not take turns.
Salt is the sneakiest. Airborne chloride settles into every porous surface and pulls moisture out of the air, so your siding stays damp longer after rain than it would inland. That lingering dampness is what pushes coatings past their limits from the back side of the film, not the front.
UV is the loud one. Island latitudes get intense, year-round sun, and it breaks down the binder that holds pigment in place. When the binder goes, you get chalking, then fading, then a surface that feels like powder on your fingertips.
Wind-driven rain finishes the job. Trade winds push water sideways into seams around windows, doors, and trim, and anywhere the caulk has cracked, water gets behind the paint and starts lifting it from the substrate. According to the National Weather Service, tropical systems and persistent trade flow make horizontal rain a routine condition in Hawaii rather than an occasional event, which is exactly the kind of exposure that finds weak points first.
So the honest answer to “why is my paint peeling?” is usually: it is not the paint’s fault alone. It is the combination of a wet surface, a hot surface, and a surface that was not prepared for either.
The prep work that separates a five-year job from a fifteen-year job
Here is the part most homeowners never see and almost every failed job skipped.
Prep is not a single step. It is a sequence, and each stage exists because the next one depends on it. Wash first, because salt, mildew, and airborne grime create a barrier that stops primer from bonding. Then scrape and sand every loose edge, because paint feathered over a failing edge will fail again in the same spot within a season or two. Then repair the substrate: soft trim, splintered fascia, cracked stucco, rusted fasteners. Then prime bare wood and any repaired area, because raw wood drinks topcoat unevenly and shows every patch as a dull spot six months later.
On island homes I would add two more steps that mainland painters often skip.
- Rinse and let the surface dry completely for a full weather window before any coating goes on. Moisture trapped under a fresh film is the single most common cause of blistering near the coast.
- Re-caulk every joint that faces the prevailing wind. Caulk is cheap. Lifting paint off a window frame is not.
The National Institute of Standards and Technology studies how materials degrade under environmental exposure, and the pattern is consistent: coatings age fastest when multiple stressors act together rather than one at a time. Your coastline gives it three.
Choosing the right coating for your specific exposure
Not every wall on your house needs the same product, and I would push back on any bid that treats the whole exterior as one surface.
Walls facing the ocean and the prevailing wind take the most punishment. They deserve the highest-grade exterior acrylic or elastomeric you can budget for, with strong mildew resistance built in. Walls tucked under deep eaves or shielded by a neighboring structure dry faster and see less direct rain, so a mid-tier acrylic holds up fine there. Trim, doors, and railings need a different conversation entirely, because they receive full sun and full rain with almost no protection, and they are where you will notice failure first.
If you want a simple rule: spend your coating budget where the weather hits hardest, not evenly across the house. Splitting a premium product across every surface often means doing a mediocre job everywhere instead of a great job where it counts.
One more thing worth knowing. Local building and housing guidance on the Department of Housing and Urban Development site reflects how seriously coastal durability matters for long-term property value, and it is a decent reminder that your exterior is a structural investment, not a cosmetic one. Paint that fails early lets water into wood. Water into wood means rot, and rot is a carpentry bill, not a painting bill.
How to vet an island painting contractor
Ask these before you sign anything, and pay attention to how comfortable the answers sound.
- What is your dry-time standard before topcoat? A vague answer here tells you prep is being rushed.
- Which surfaces get primer, and which get direct topcoat? Every reputable painter can answer this in one sentence.
- How do you handle existing rot or soft trim? If they say “we’ll paint over it,” walk away.
- What does your written scope include? Washing, scraping, sanding, caulking, priming, and number of finish coats should all be listed, not implied.
- How long after rain do you wait to start? On the coast, this question alone filters out half the field.
I would also ask what they recommend for your specific orientation. A painter who has worked the same streets for years will know which facing walls fail first and will tell you without being prompted. If they want to sell you outdoor painting services for island homes using the same products and schedule they would use in a dry climate, that is your signal to keep looking.
Realistic timelines and how to plan around them
A single-family home exterior typically takes several days to a couple of weeks depending on square footage, prep findings, and weather windows. Coastal jobs rarely run on a tidy Monday-to-Friday schedule, because rain and humidity force pauses that no one can control. Budget extra days rather than expecting a compressed timeline, and treat any quote that promises an unusually fast turnaround with suspicion.
Plan the work for the drier stretch of your year if you can, keep landscaping trimmed back a few feet from the walls, and expect to touch up trim and railings between full repaints. That small habit extends the life of the big job considerably.
Your exterior is the first thing anyone notices and the last thing most homeowners think about until something peels. Do the prep properly, match the coating to the wall instead of the house, and ask the questions that separate a real coastal painter from someone with a ladder. Then go stand at the end of your driveway and look at the wall that takes the worst of the weather. That wall is the one that tells you whether the job was done right.